Saving and scheduling draft posts
It's important to capture your creative thoughts (even those partially-developed ones) right when you have them. With Buffer's draft features, you'll be able to save your drafts with or without a pre-scheduled date and time selected. Pretty slick, right?
📝 Looking for the mobile version? See "Creating, managing, and approving draft posts on the mobile app".
📝 Working with a team? Visit the Managing and approving draft posts article.
In this article:
- Accessing your draft posts
- Creating posts from the drafts area
- Creating drafts from the composer
- Creating drafts from the calendar
- Scheduling drafts to multiple social channels at once
- FAQ
Accessing your draft posts
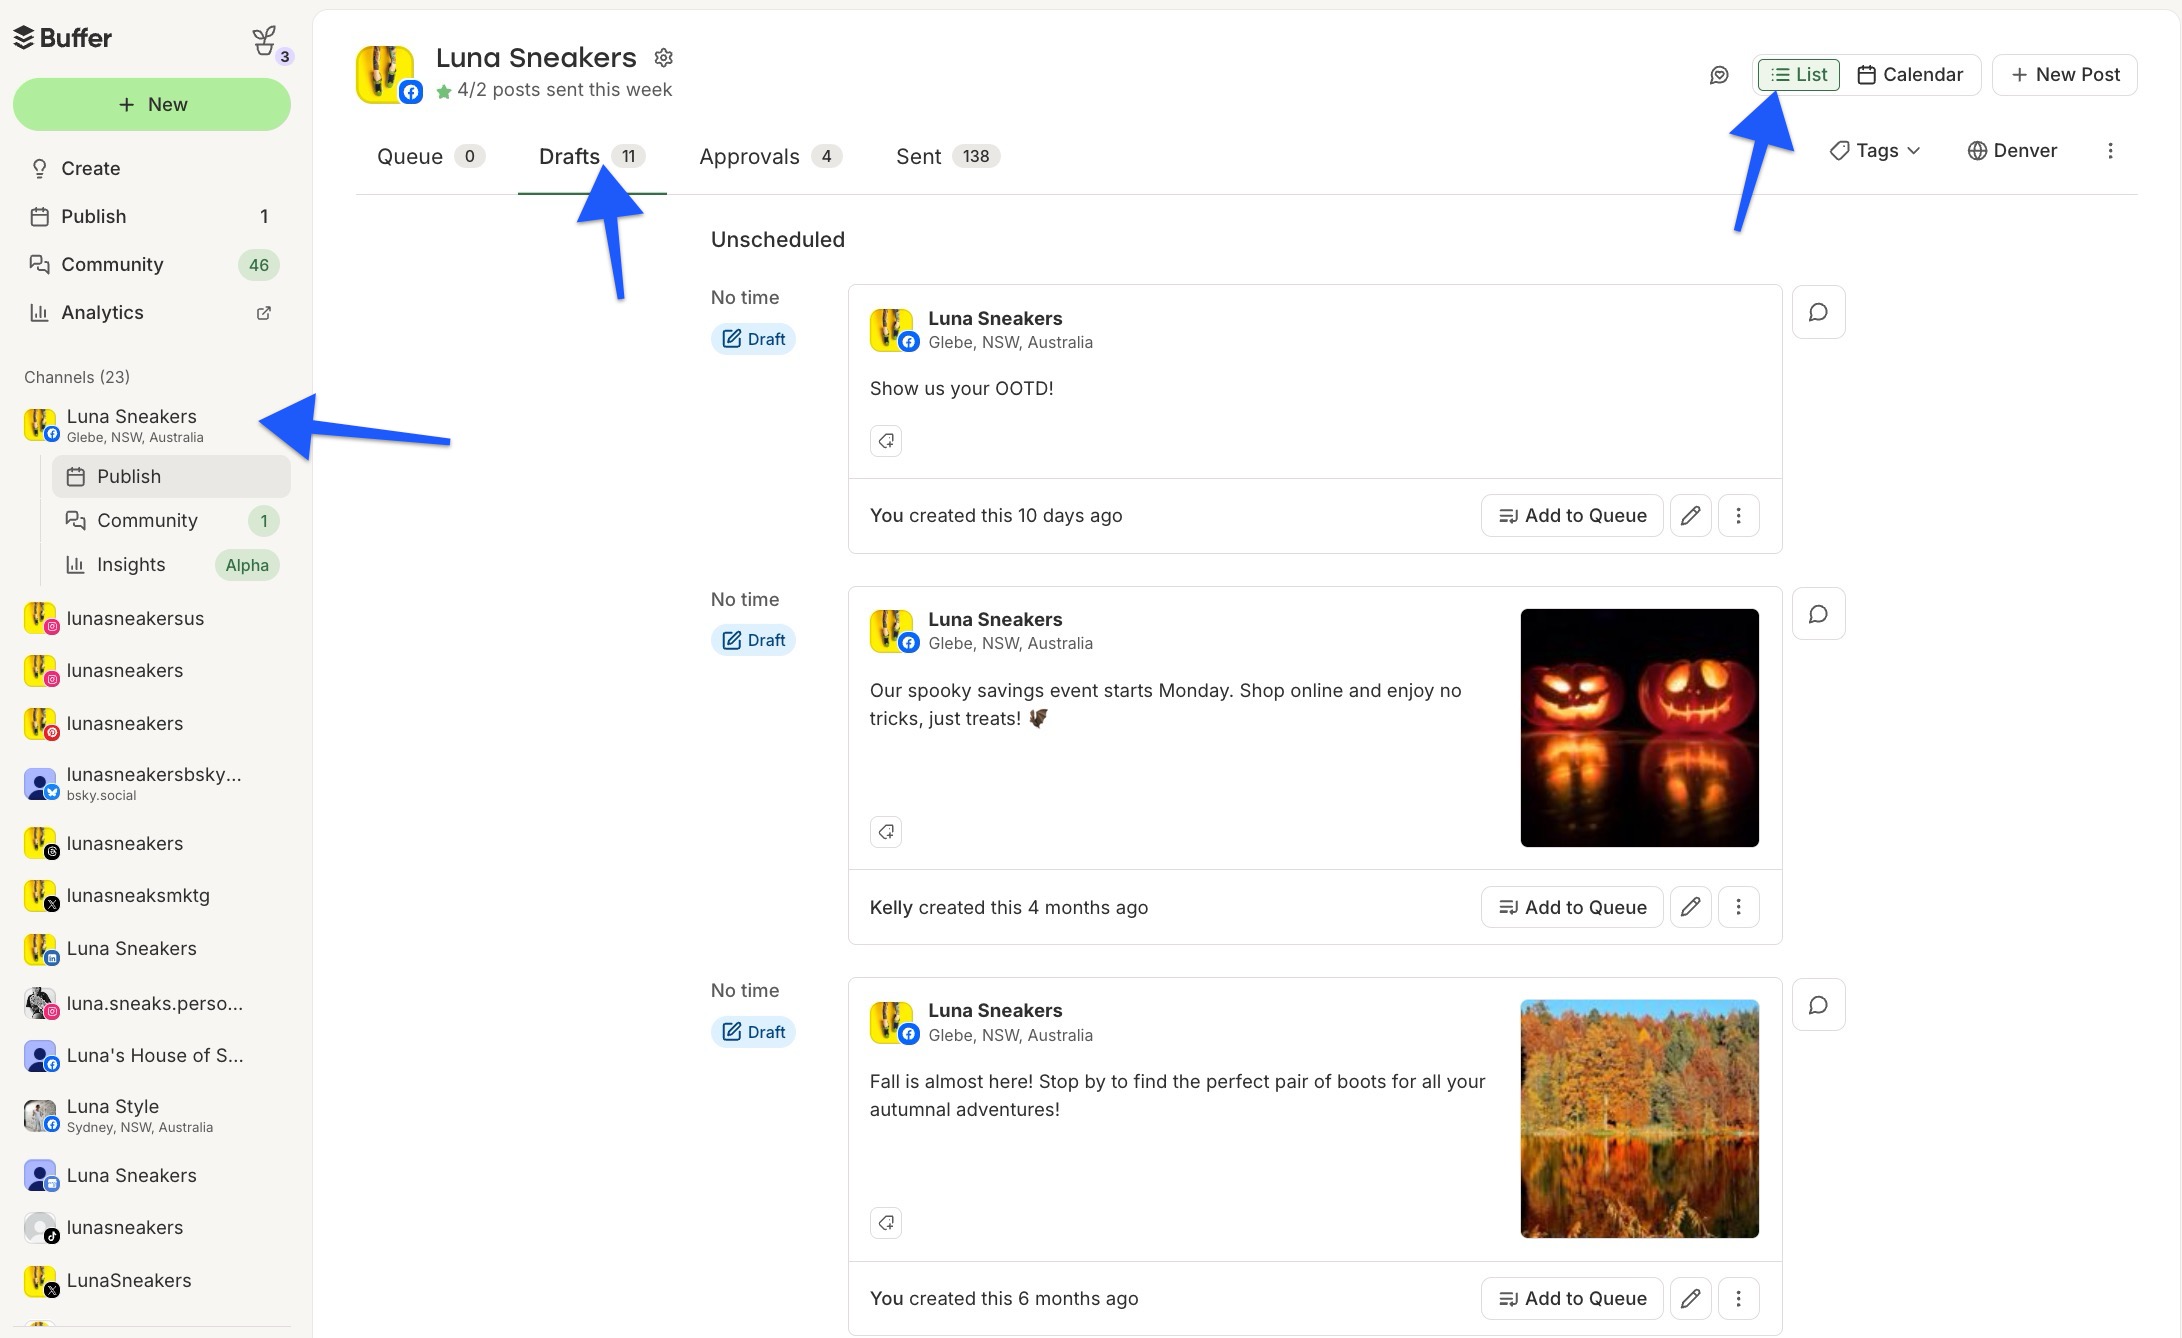
You can find the draft posts for each of your social channels by in the Publish dashboard by clicking the social channel's name on the left side of your dashboard and then clicking Drafts. Note: if you are using the Calendar view, you will need to click the List view first:
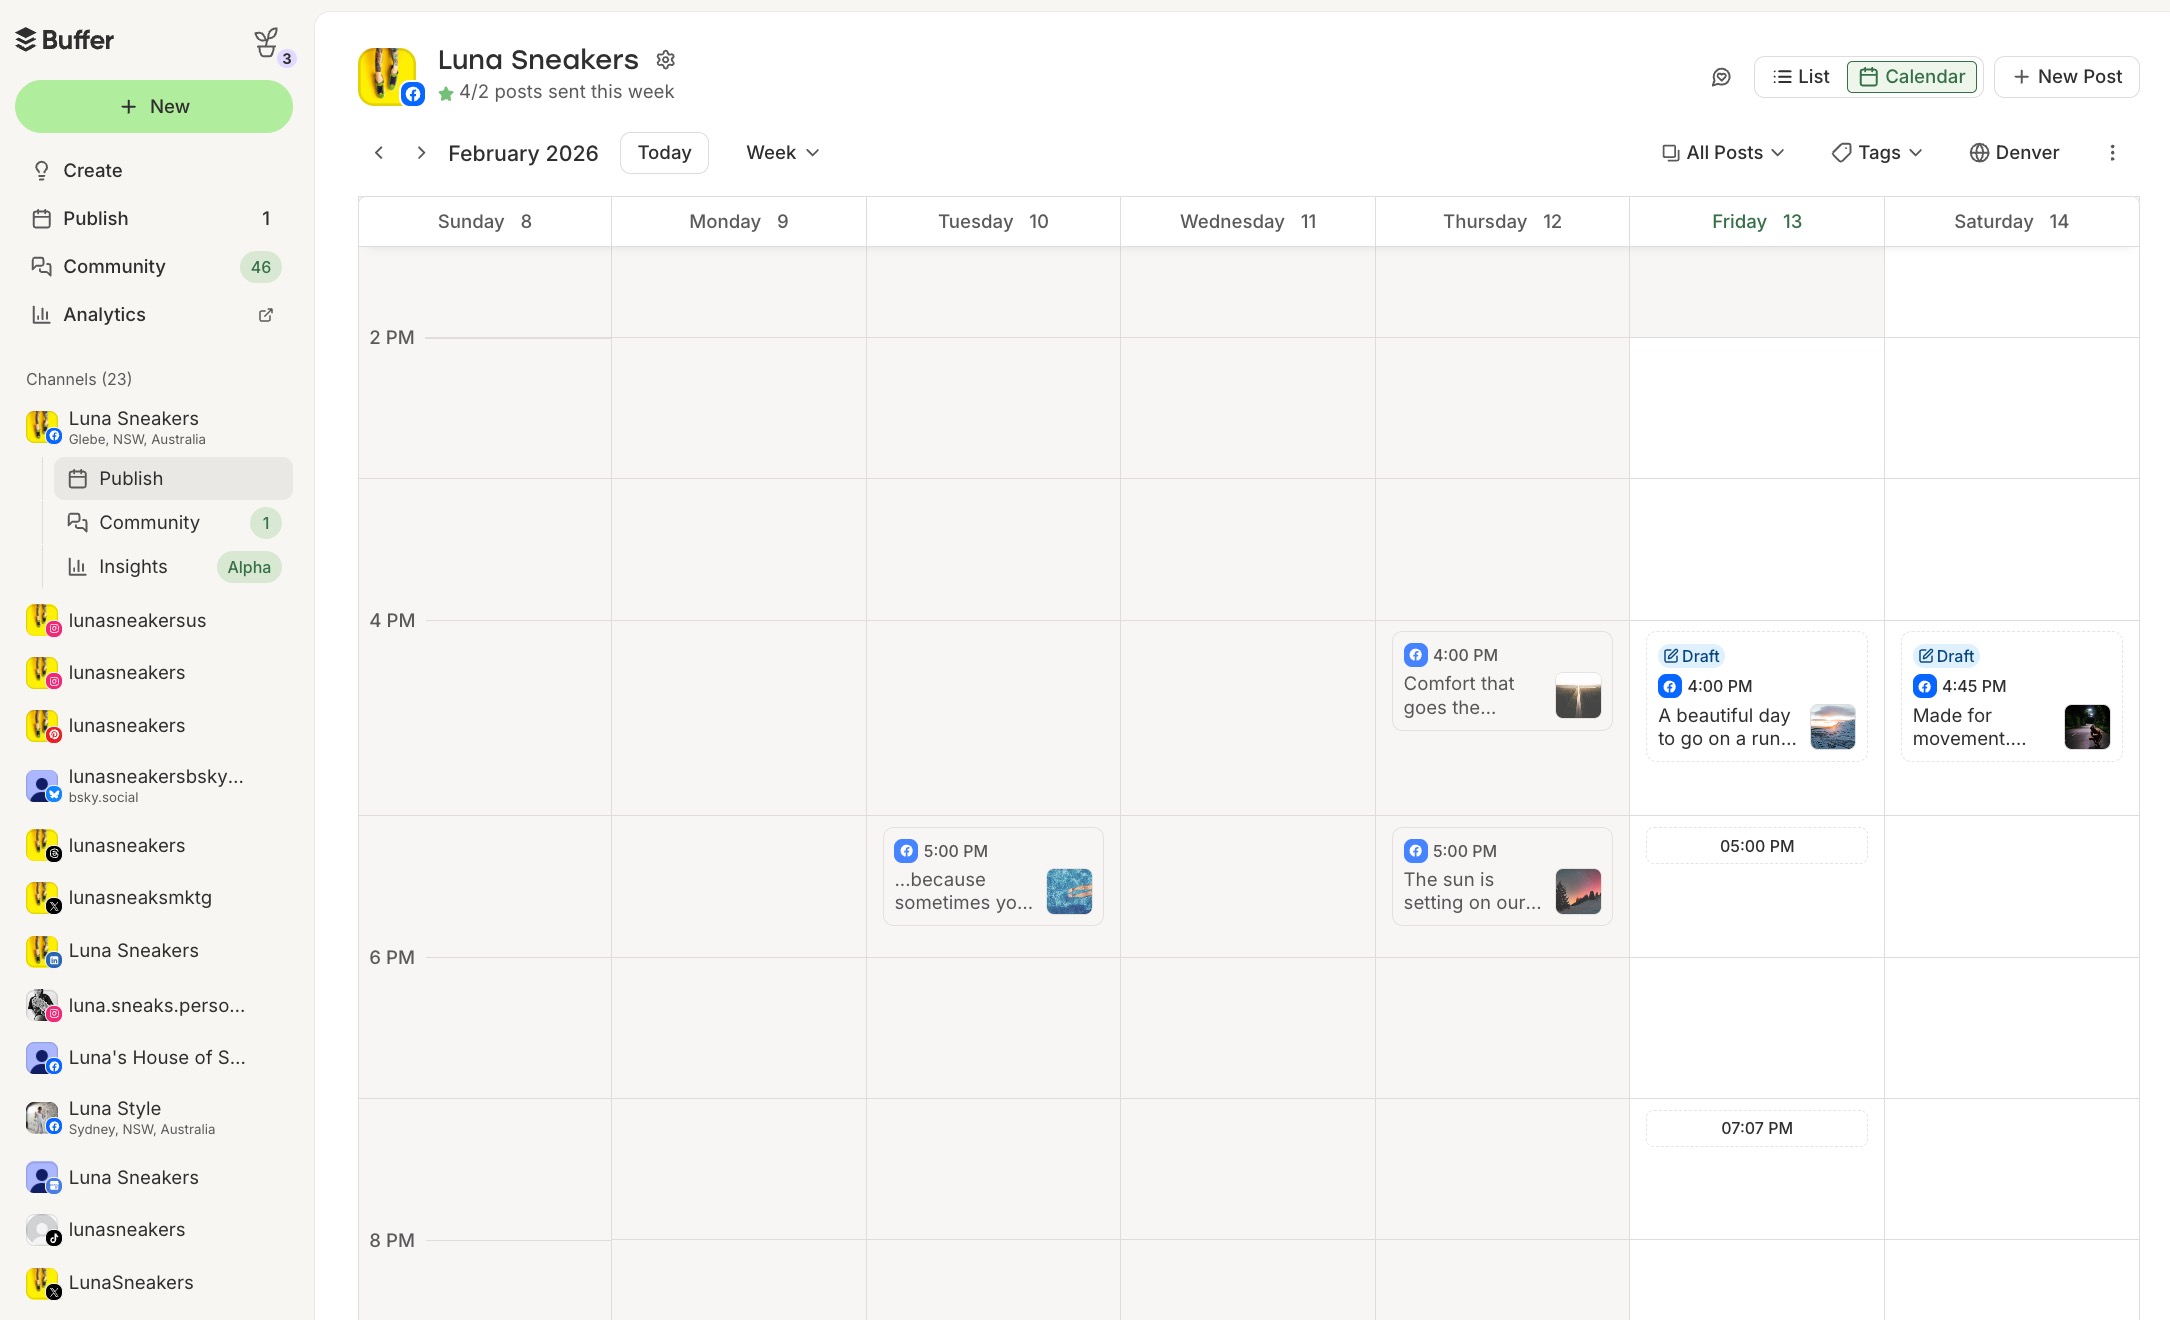
You will also be able to access all of your pre-scheduled drafts from the calendar so that you have a view of your whole social content plan in one place. Note that if you didn't add a time and date to your draft, it would not appear in your calendar. We'll talk more about pre-scheduled drafts below.
Creating drafts from the drafts area
You can create drafts right from the drafts area by typing in the "Create a new draft" composer field. From there, you can save your draft with no date/time specified, or you can pre-schedule the draft by clicking Set Time. Pre-scheduling your draft will not cause it to automatically publish at the date and time you selected unless that draft post is moved to the queue prior to the pre-scheduled date/time.
When a draft is scheduled and the scheduled time has passed, click Edit on the post and select a new time. Once that's saved, you'll see the Schedule Post option again.
Let's explore other ways to create draft posts.
Creating drafts from the queue
To start your draft from your queue, click on the blue + New button at the top of your dashboard, then click Post to open the composer. Craft your post.
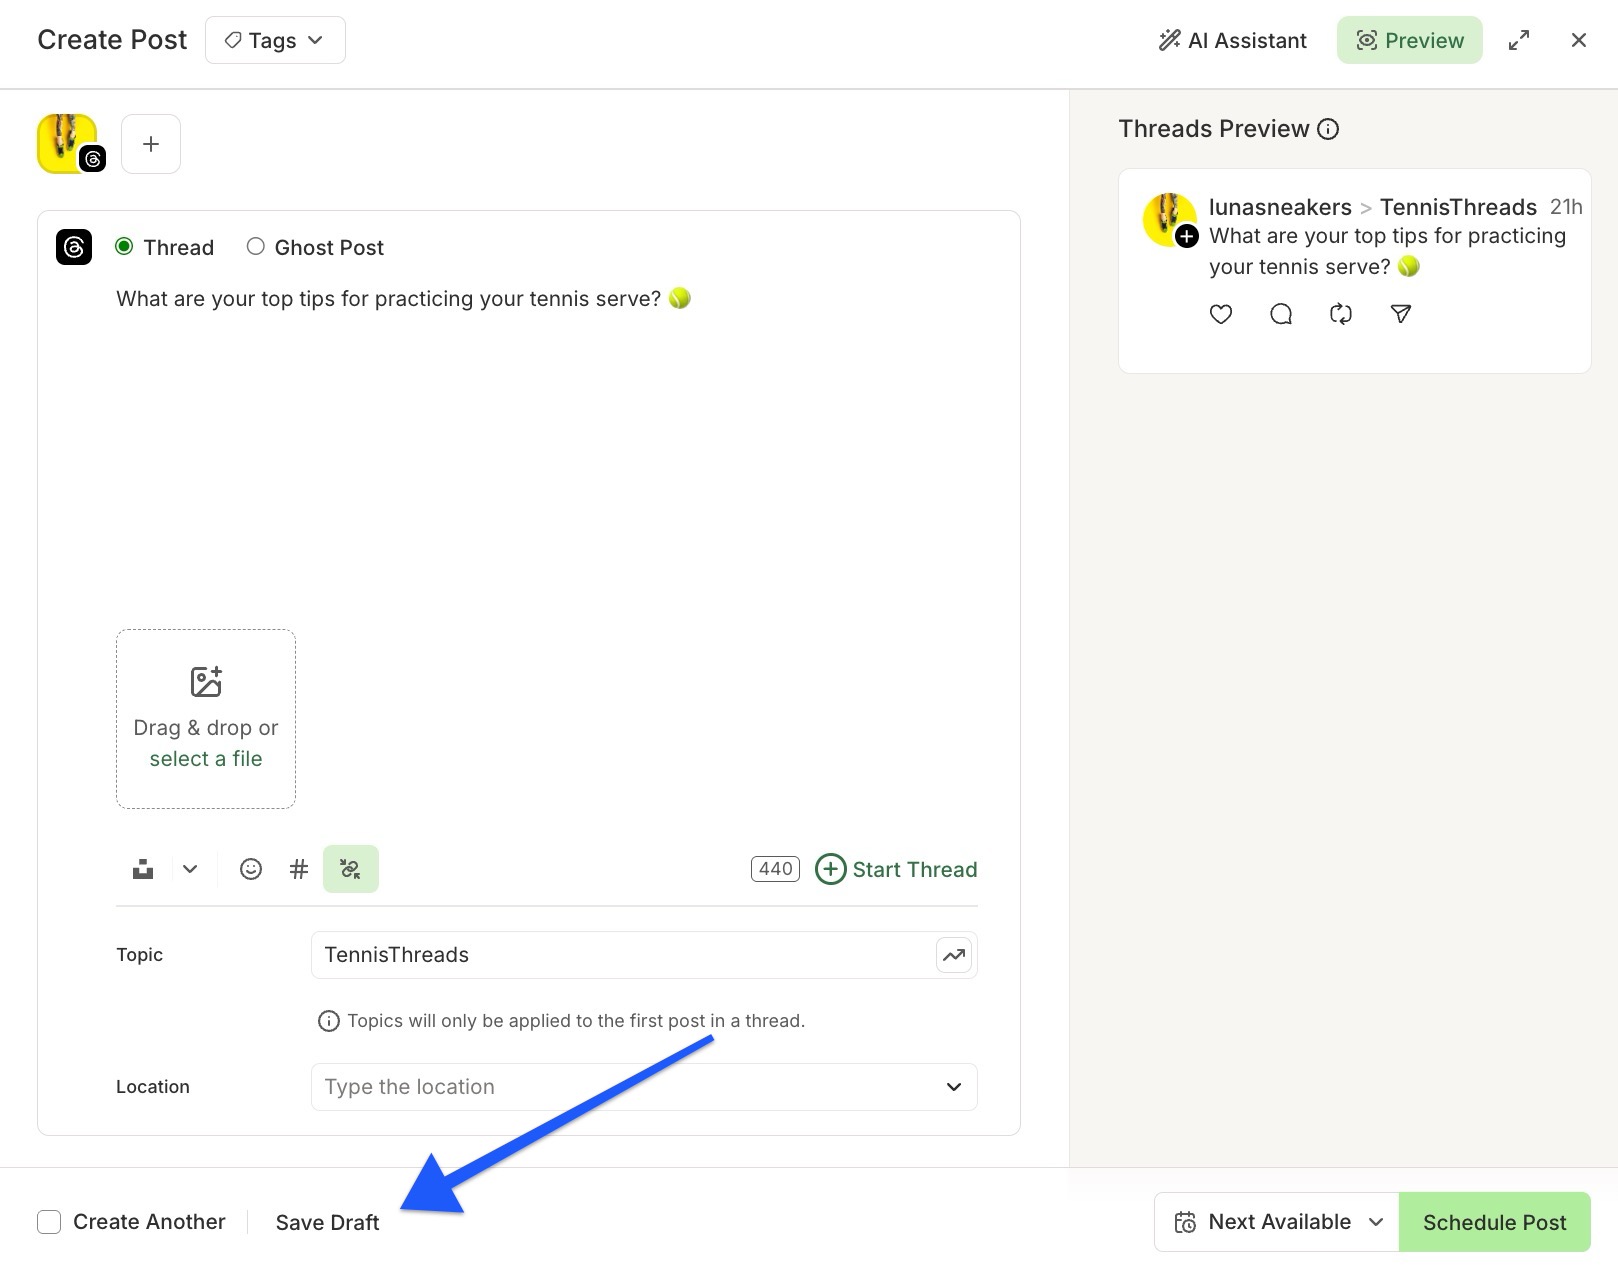
When finished, if you'd like to store it in the drafts area of your account without specifying a date and time for publishing, click Save as Draft.
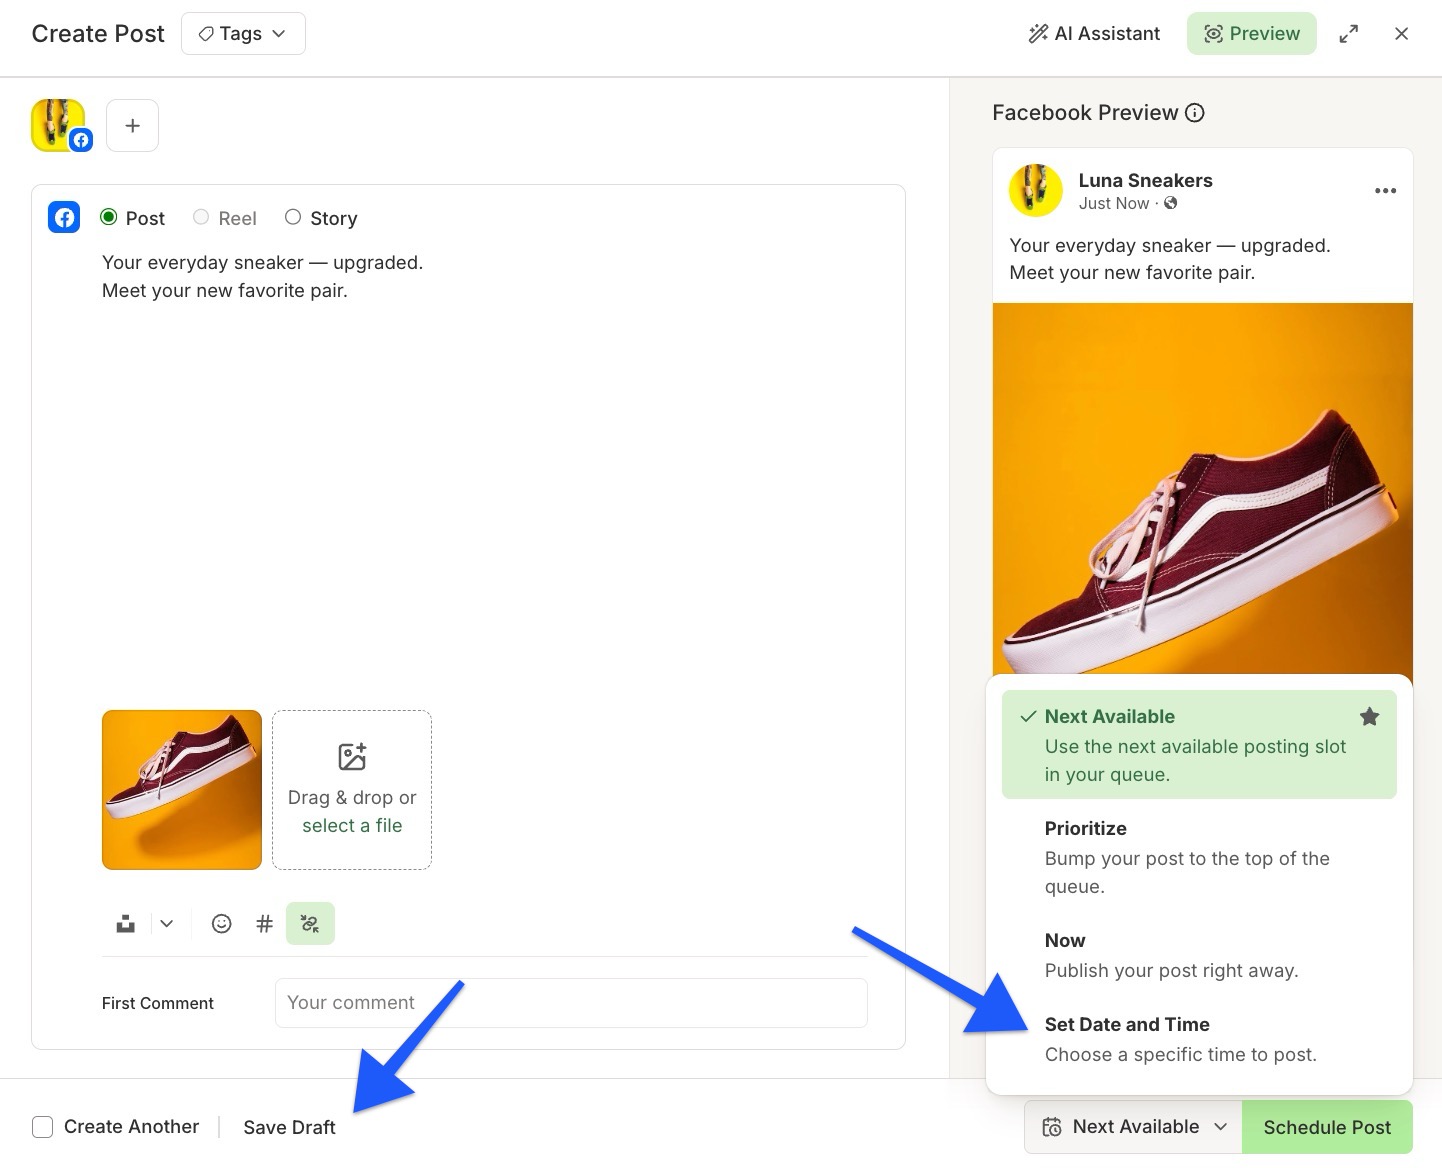
Once your draft has been saved, if you know the date/time you'd like to post it, you can pre-schedule your post by clicking on the pencil icon to edit the post, and then clicking Set Time to select a day and time. As a reminder, this will not cause your draft to automatically publish at the date and time you selected unless that draft post is moved to the queue prior to the pre-scheduled date/time.
Speaking of which, the last action that you'll need to take before the draft is fully scheduled is to have someone with full posting access (this could be you or another member of your Buffer organization) click Add to Queue from within your drafts tab.

Creating drafts from the calendar
If you love the full-context view of the calendar, there's good news: you can schedule and view drafts straight from your calendar view! Let's get into it.
- First, you'll click Calendar in the upper right-hand menu from your publishing dashboard.
- From there, click on the date and time you’d like to schedule your draft. A composer will pop up and you can start drafting your post.
- When finished composing your draft post, click on the Schedule Draft button, and you’ll immediately see your draft populate on your calendar at the date and time you originally selected.
📝 Scheduling your draft will not cause it to automatically publish at the date and time you selected. Instead, it will preset the date and time for publishing, but will still require a user with full posting access to click Schedule Post from the drafts tab before the post is considered ready to publish. If no date or time is selected for the draft, the draft will show Add to Queue instead. Head here to learn more about adding users and setting up permissions in your organization.

Scheduling drafts to multiple social channels at once
Looking at the screenshot above, you can see several social channels selected. When the draft is scheduled (or "saved" if composing your draft from the queue), the draft for each of your social channels will land in their respective drafts tabs.
We share instructions on how to find the draft posts for each of your social channels at the top of this article.
FAQ
Will a draft for one post going to multiple channels be saved as one draft?
No, drafts sent to multiple social channels will be saved as independent drafts within each of those social channels' drafts areas. We share more about this below.
Is it possible to view all of my drafts in one place?
Yes, you can view all of your drafts in one list using the All Channels view. The All Channels view will compile all of your drafts across your channels into one scrollable list that you can also sort by channel or tag. Learn more about How to use the All Channels view in Buffer here.
Will I be able to see the same drafts in both the mobile app and the web app (from my computer)?
Yes! Your drafts will be synced between mobile and the web, so feel free to work freely between the two.
How do I send drafts for approval or approve drafts sent to me?
Collaboration on drafts and approval flows are available on our Team plan, and all posts sent for approval go through your drafts area. You'll learn more about the process to send draft posts for approval and to approve draft posts in this article: Managing and approving draft posts
After a draft is scheduled as a post, can it be reverted back into a draft?
It sure can! You can move any post from your queue back to drafts by clicking on the down-arrow next to the Share Now button and choosing Move to Drafts.
Can I collaborate on drafts with my team?
Yes! Click the speech bubble icon in the upper right corner of the draft (kind of like this: 💬) to create a Note. Learn more about Collaborating on content with Notes in Buffer.
Can I delete drafts in bulk?
Yes, our Delete Drafts feature allows you to delete all drafts from a particular channel. (Posts awaiting approval are not impacted). Learn more about deleting drafts in bulk here.
Can I restore a deleted draft?
Unfortunately, once a draft or scheduled post has been deleted, it cannot be restored.
Can I upload drafts in bulk?
Yes, you can upload your drafts in bulk to Buffer. Learn more about how bulk uploads work in Buffer here.
How can I reschedule an overdue draft?
If the scheduled time has passed and your draft has not been moved to the queue, your draft will be marked as Overdue. If you'd like to reschedule your draft, you can click the Reschedule button on the draft and then choose a new day and time for your post.
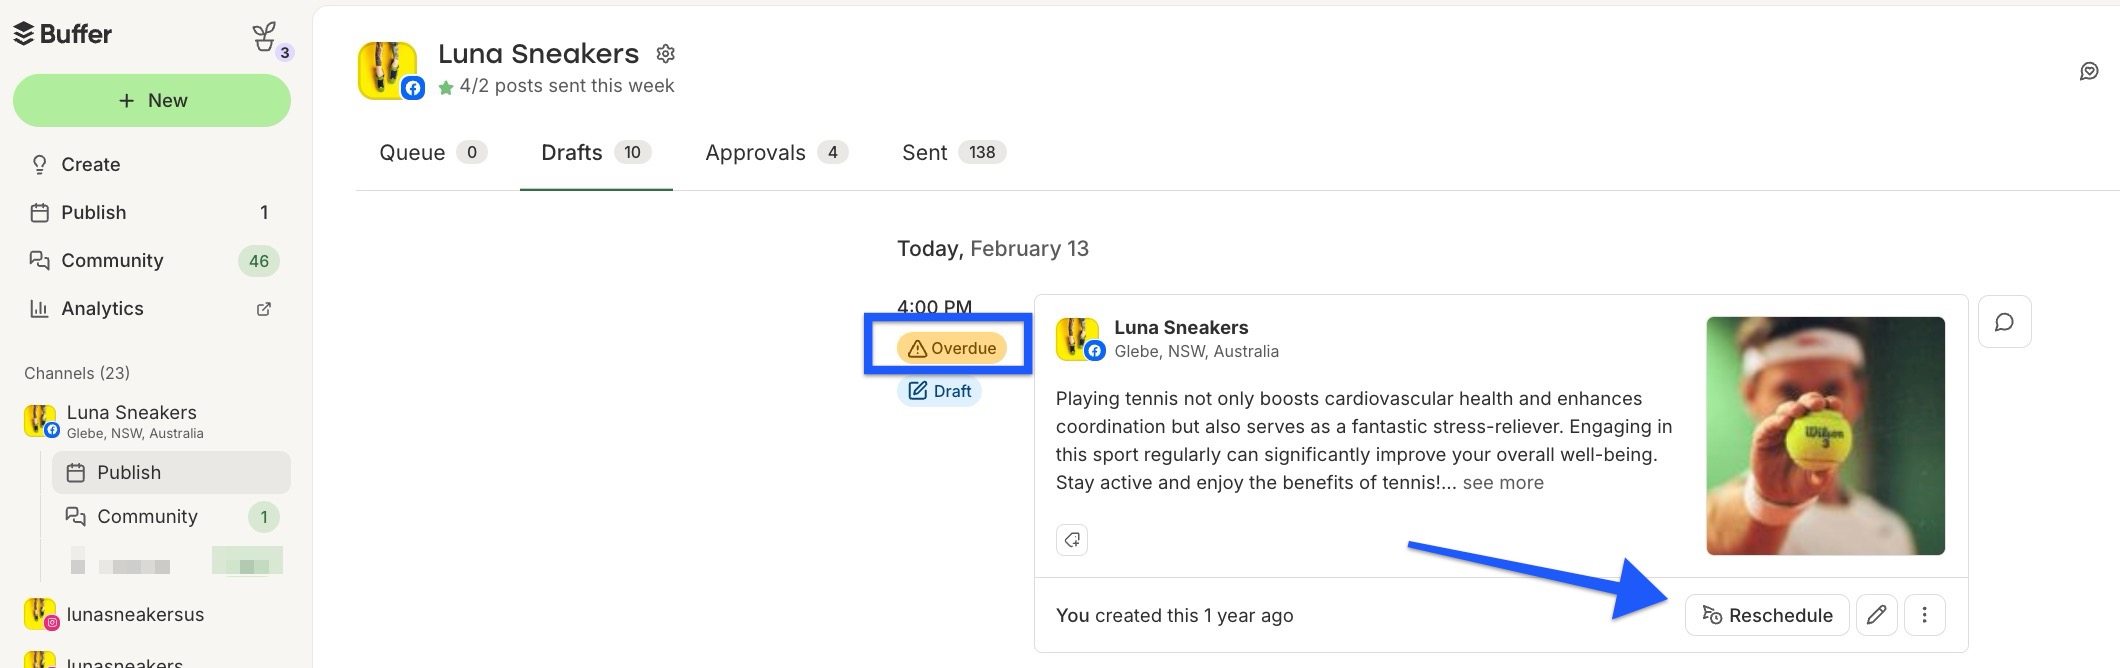
Remember, your scheduled draft will not get published until someone with Full Posting Access clicks Schedule Post to move it to the queue.