Creating and managing tags
Buffer uses tags to organize your content into categories (created by you) to track how your published content performs. Once your first tagged posts publish, they'll start accumulating data in the analytics tab.
Need some inspiration? Check out our blog post on creative ways to use tags to help you make the most of this feature.
In this article:
- Video: Creating and Managing Tags in Buffer
- Creating a new tag
- Adding tags to a post
- Viewing, editing, and deleting tags
- Tracking the performance of your tags
📝 Good-to-Knows
- Looking for the mobile version of Creating and managing tags on the mobile app?
- Only team members with Admin access can create, edit or delete tags.
- Paid plans can save up to 250 tags in Buffer with up to 10 per post.
- Free plans can save up to 3 tags in Buffer with up to 3 tags per post.
- Check out this article for information on Tracking the performance of your tags.
Video: Creating and Managing Tags in Buffer
Watch the video below to learn more about creating and managing tags in Buffer.
Creating a new tag
Creating a tag from Tag Settings
- Start by clicking the profile avatar in the lower left corner of the dashboard.
- Choose Settings from the menu.
- Click Tags on the left side bar.
- Click + New Tag in the top right corner, enter your text, choose a color, and hit Save.
Creating a tag from the composer
- Open the composer.
- Click Tags at the top of the composer.
- Start typing the name of the tag you want to add.
- Select + Create, choose a color for tag, and click Save Tag. Your new tag will automatically be selected for your post.
Adding tags to a post
📝 Tag access and visibility on the Team plan
- Team members will Full Posting Access or Requires Approval Access are able to add or remove tags from scheduled posts.
- An important note on tags visibility: All users within an organization are able to view all tags, including all posts belonging to those tags, regardless of whether or not they have access to the social channel a post belongs to.
- Example: Let’s say a user has access to three of five channels that are connected to the organization. They will have visibility of all tags, and all posts belonging to those tags, even if some of those posts are scheduled for the two channels they don’t have access to. However, they will not be able to click on the channel avatar and will not be able to access the queue for that channel.
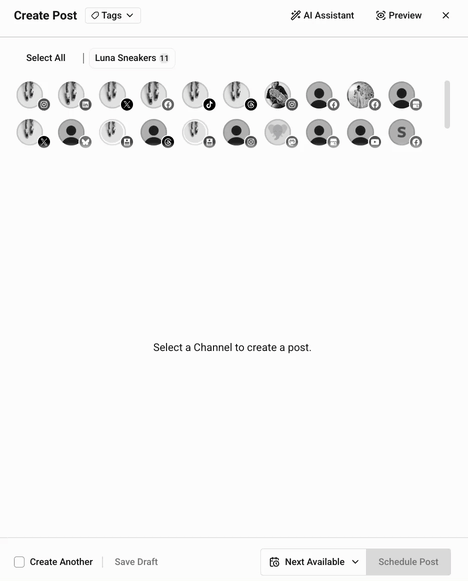
The next step is to create posts for your tag. Create your post within your queue as you usually would, and select the tag you'd like to add the post to at the top left of the composer.
Posts scheduled with that tag will be shown in your queue(s). The name of the tag a post belongs to will be displayed on the post within the queue.


Viewing, editing, and deleting tags
To view your full list of existing tags and see how many ideas, scheduled posts, drafts, approvals and sent posts have been associated with that tag, you can visit your Tags settings in Buffer. Here's where to find them:
- Click your profile avatar in the bottom left of your dashboard
- Select Settings from the dropdown.
- Click Tags on the left menu.
or you can visit https://publish.buffer.com/settings/tags.

- From here, you can:
- Click the ✏️ pencil icon to Edit a tag.
- Click the 🗑️ trash icon to Delete a tag
- Click the three vertical dots to:
- View Posts with that tag.
- Open Reporting to track the performance of posts with that tag.

📝 Note: Deleting a tag will not delete the posts associated with that tag. If you’d like to stop those posts from being published, you will need to delete those posts individually from your queue(s).
Tracking your tag performance
To view the performance for your tag, head to your list of tags, click on the three dots on the right hand side, and click Open Reporting. You can also access your tag report by clicking Tags under the Analyze tab and toggling to the desired tag.
For guidance on tracking your tags in Buffer, please head over to this guide.