Creating and managing tags on the Buffer mobile app
Buffer uses tags to organize all of your content, whether it be ideas, drafts, or published posts, and to help you understand how your published content is performing. Want to see tags in action? Explore creative ways to incorporate tags by checking out our blog post.
This guide outlines how to create and manage tags in Buffer. For guidance on tracking the performance of your tags in the web version of Buffer, please head over to this guide.
📝 Looking for the web browser version of the Creating and managing tags article?
This article contains the following sections:
📝 A few important notes about tags
- All users in your organization can view posts with tags—even if they don’t have access to the channel the post is scheduled for. While they can see the post under the Tags tab, they won’t be able to access the channel’s queue or click its avatar.
- Only users with Admin access can create, edit, or delete tags from the tags list.
- Users with Full Posting Access and Requires Approval Access can add or remove tags from scheduled posts.
- There is a limit of 250 tags per account.
Creating a tag and adding it to posts
Before you can tag your posts, you'll need to create one! All it takes is coming up with a tag name. Here's how:
- Tap Publish at the bottom of the app.
- Tap the profile icon in the upper right corner.
- Choose Account Settings from the menu and then scroll down to tap Manage Tags.
- Tap the search bar and enter the name of your new tag.
- If the tag does not exist, you'll see the option to 'Create tag '[your tag name]'. Tap that to create your tag.

- Add your tag name, choose a color, and tap Create.
To add a tag to a post you're creating, tap Tag and then tap the tag you'd like to use in your post.
If you're in the middle of a post and realize you haven't yet added a tag name you want to tag your post with, no worries! Just tap Tag in the composer, add the name of your tag in the "Create or search tags…" field, and tap + Create '[your tag name]' to finish the process.
Managing tags
Viewing tags
- Tap Publish at the bottom of the app.
- Tap the profile icon in the upper right corner.
- Choose Account Settings from the menu and then scroll down to tap Manage Tags.
- A list will come up of your current tags.
Editing or deleting tags
To change the name or color of a tag, tap the select tag from the list of tags, edit the title or color, and tap Update.
To delete a tag, slide left on the tag and then choose Delete. Deleting a tag will delete the tag itself, but not delete the posts linked to that tag. If you’d like to stop those posts from being published, you will need to delete the posts individually.

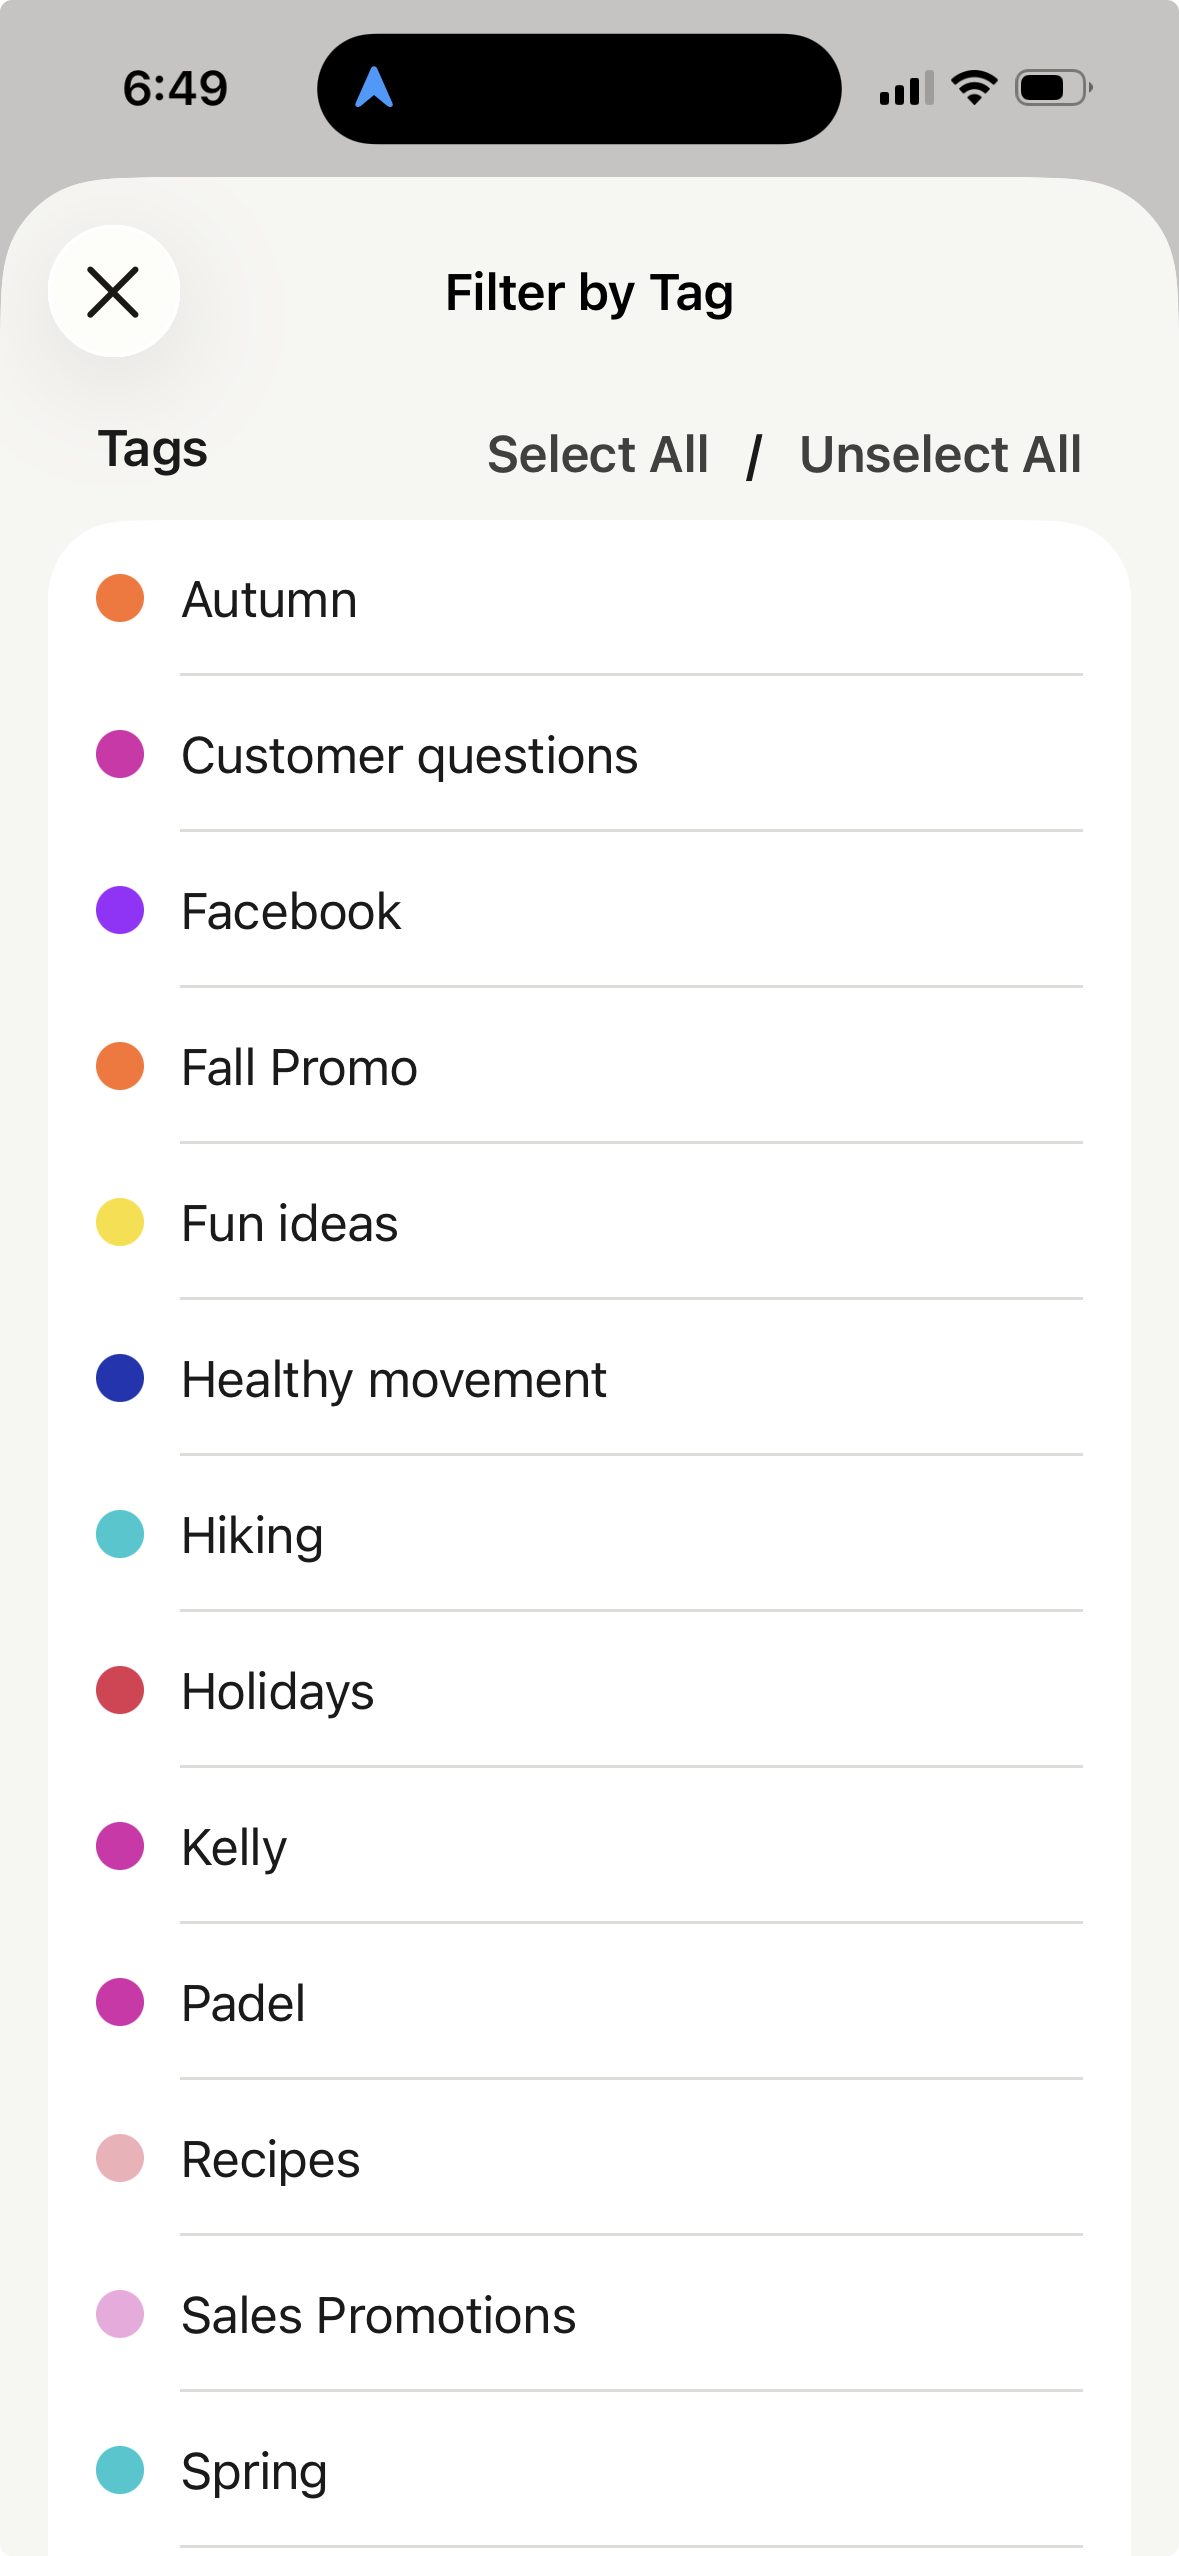
Filtering posts by tag
You can filter your posts by tag to see any drafts, approvals, scheduled, and sent posts with that tag added.
- Tap the menu button in the upper right corner of your screen (three horizontal lines) and then tap Filter by Tag.
- A list will come up of your current tags.
- Tap a tag to select it (you can also choose multiple tags or choose Select All)
Tracking the performance of your tags
To learn more about how your tags are performing, head over to our analytics guide: Tracking the performance of your tags.